 EditsInsta
 How it works · updated October 2026
A practical workflow, laid out step by step
Here's how a project moves through Edits in practice, with the habit that makes each stage faster.
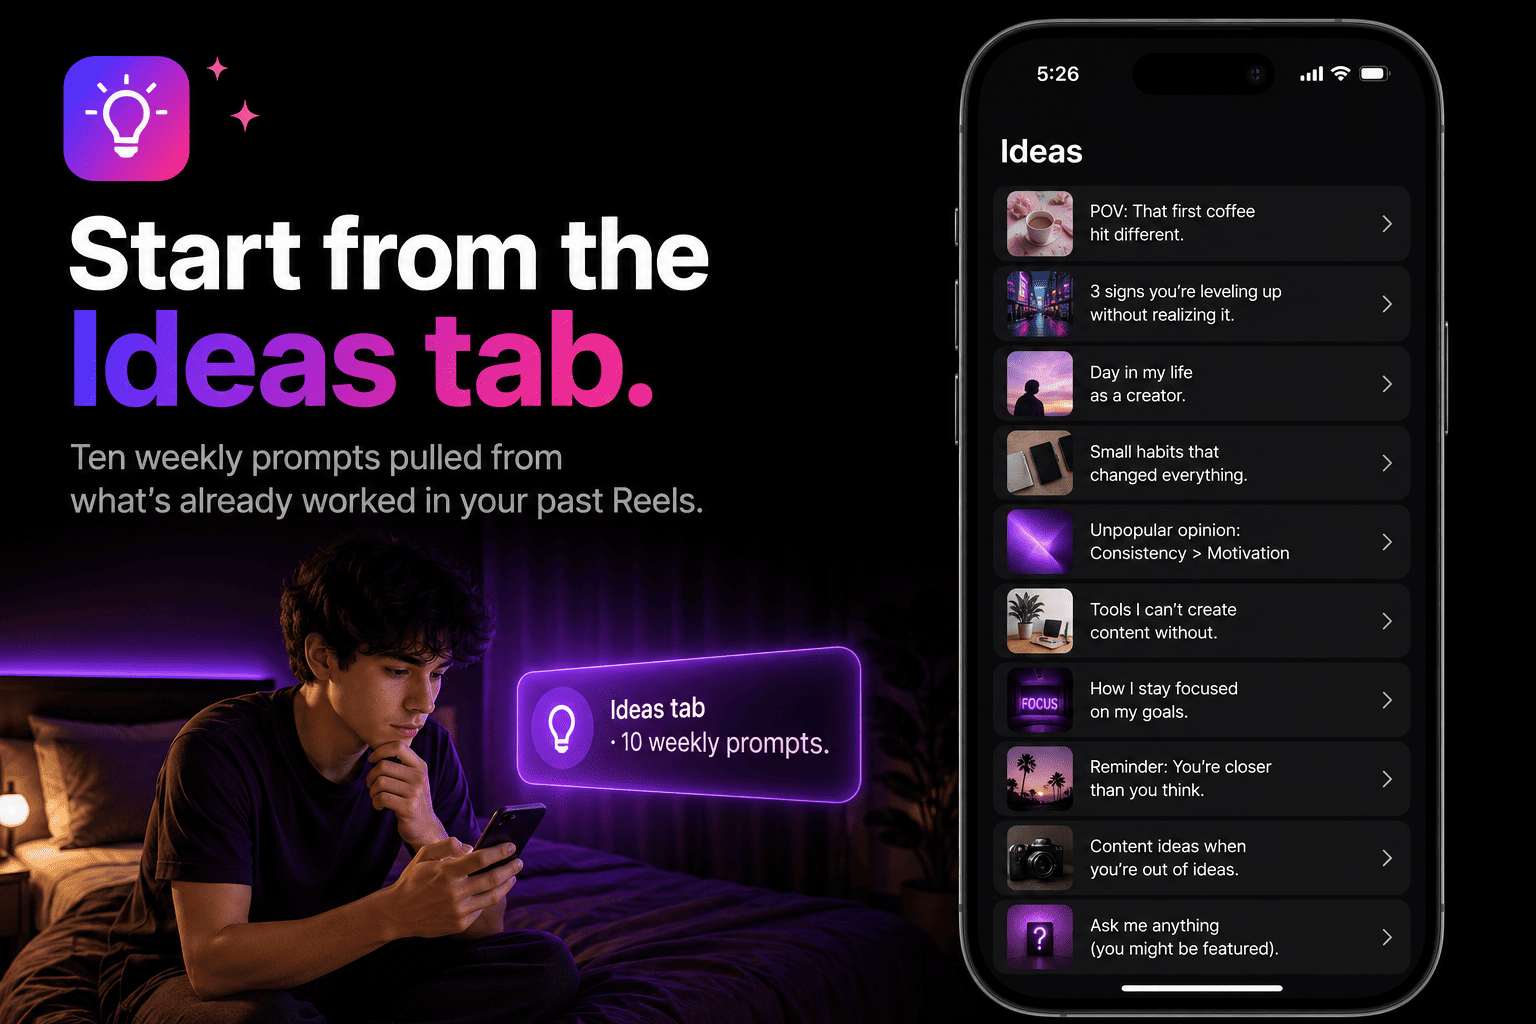
Start from the Ideas tab
Before opening the camera, check the weekly Ideas tab. It surfaces ten prompts pulled from what's already worked in your past Reels, so you're not starting from a blank page.
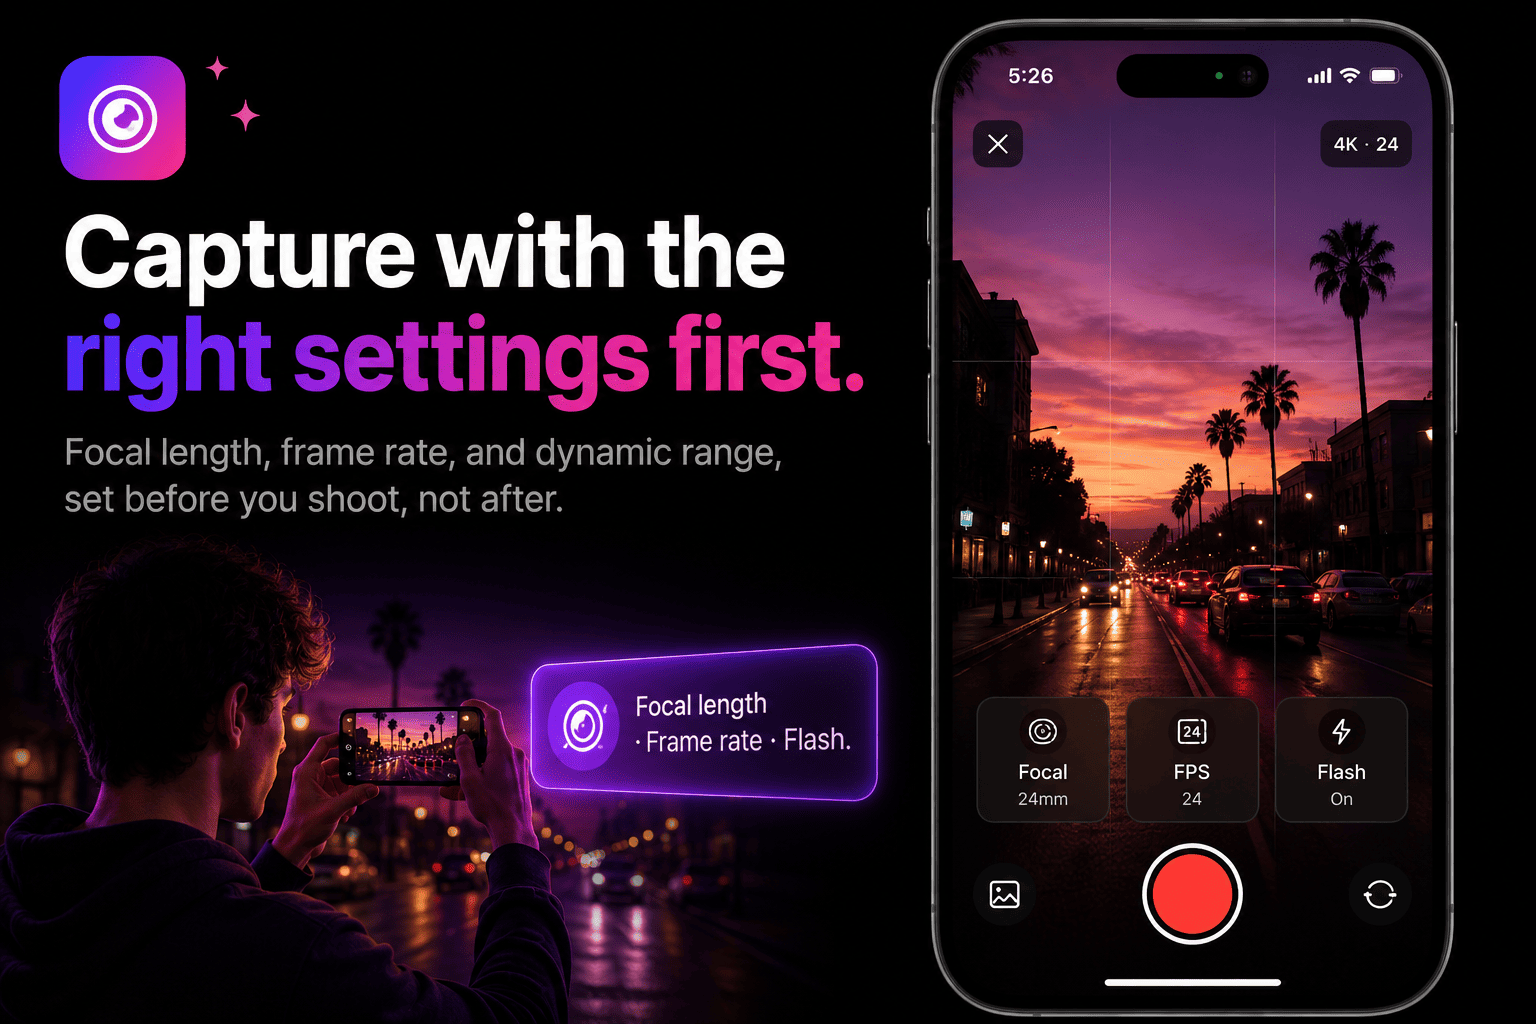
Capture with the right settings first
Set focal length, frame rate, and dynamic range before you record, not after. It saves you a re-shoot later, and the footage lands directly in the project's media bin.
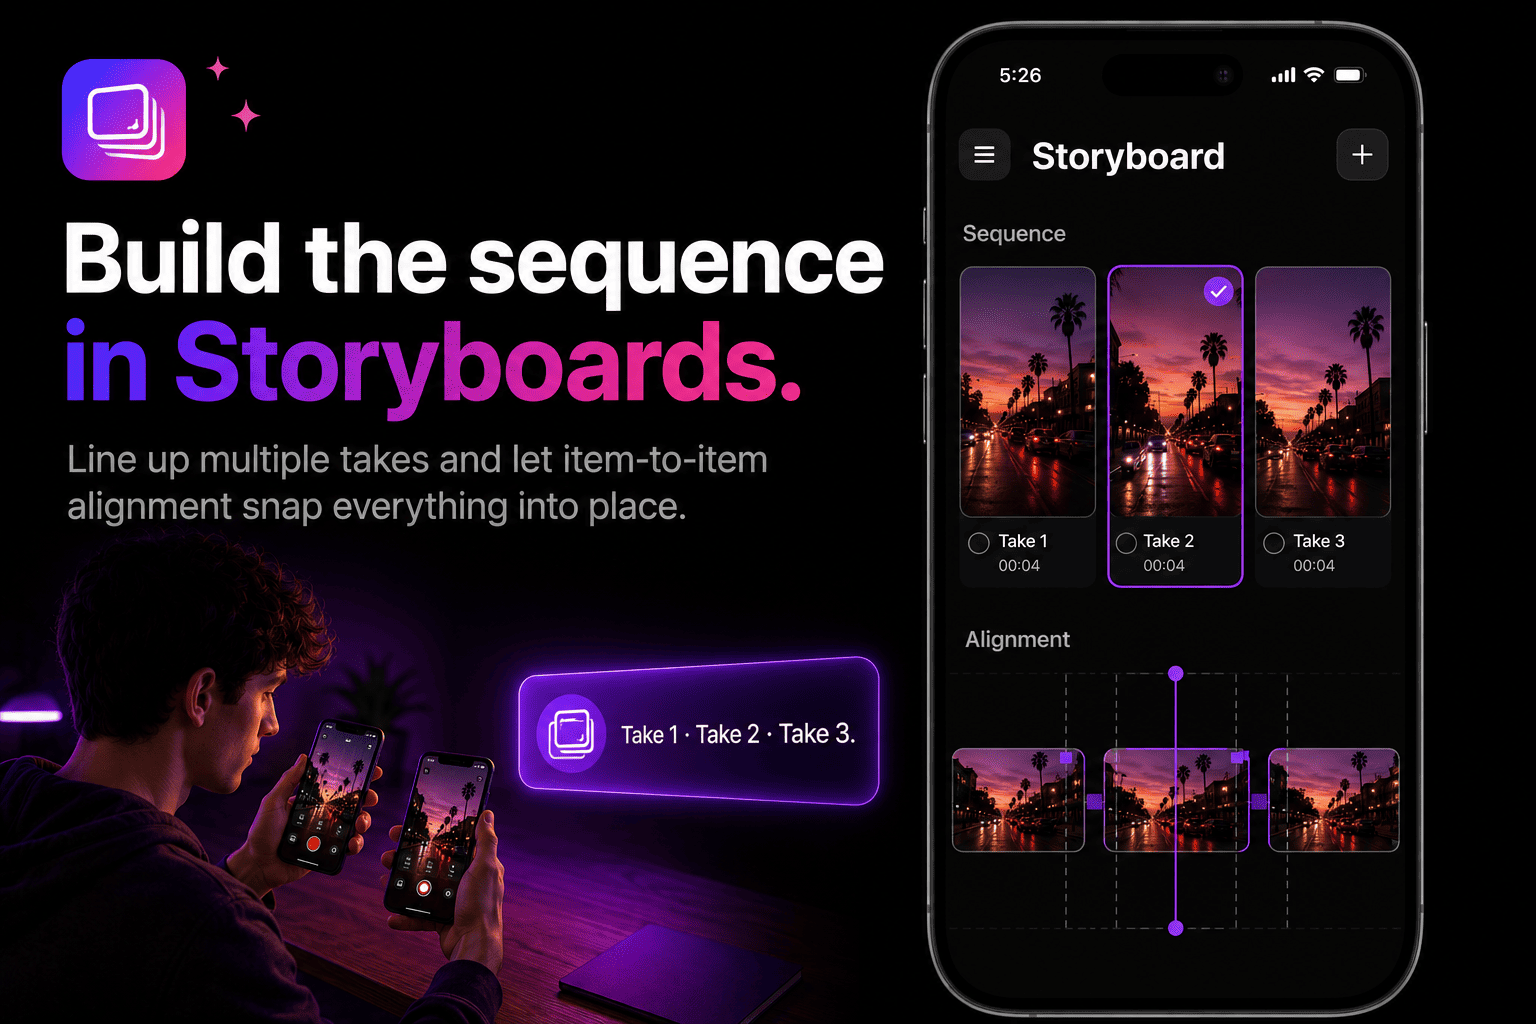
Build the sequence in Storyboards
Line up multiple takes side by side before committing to one. Item-to-item alignment snaps clips and overlays into place so pacing doesn't drift.
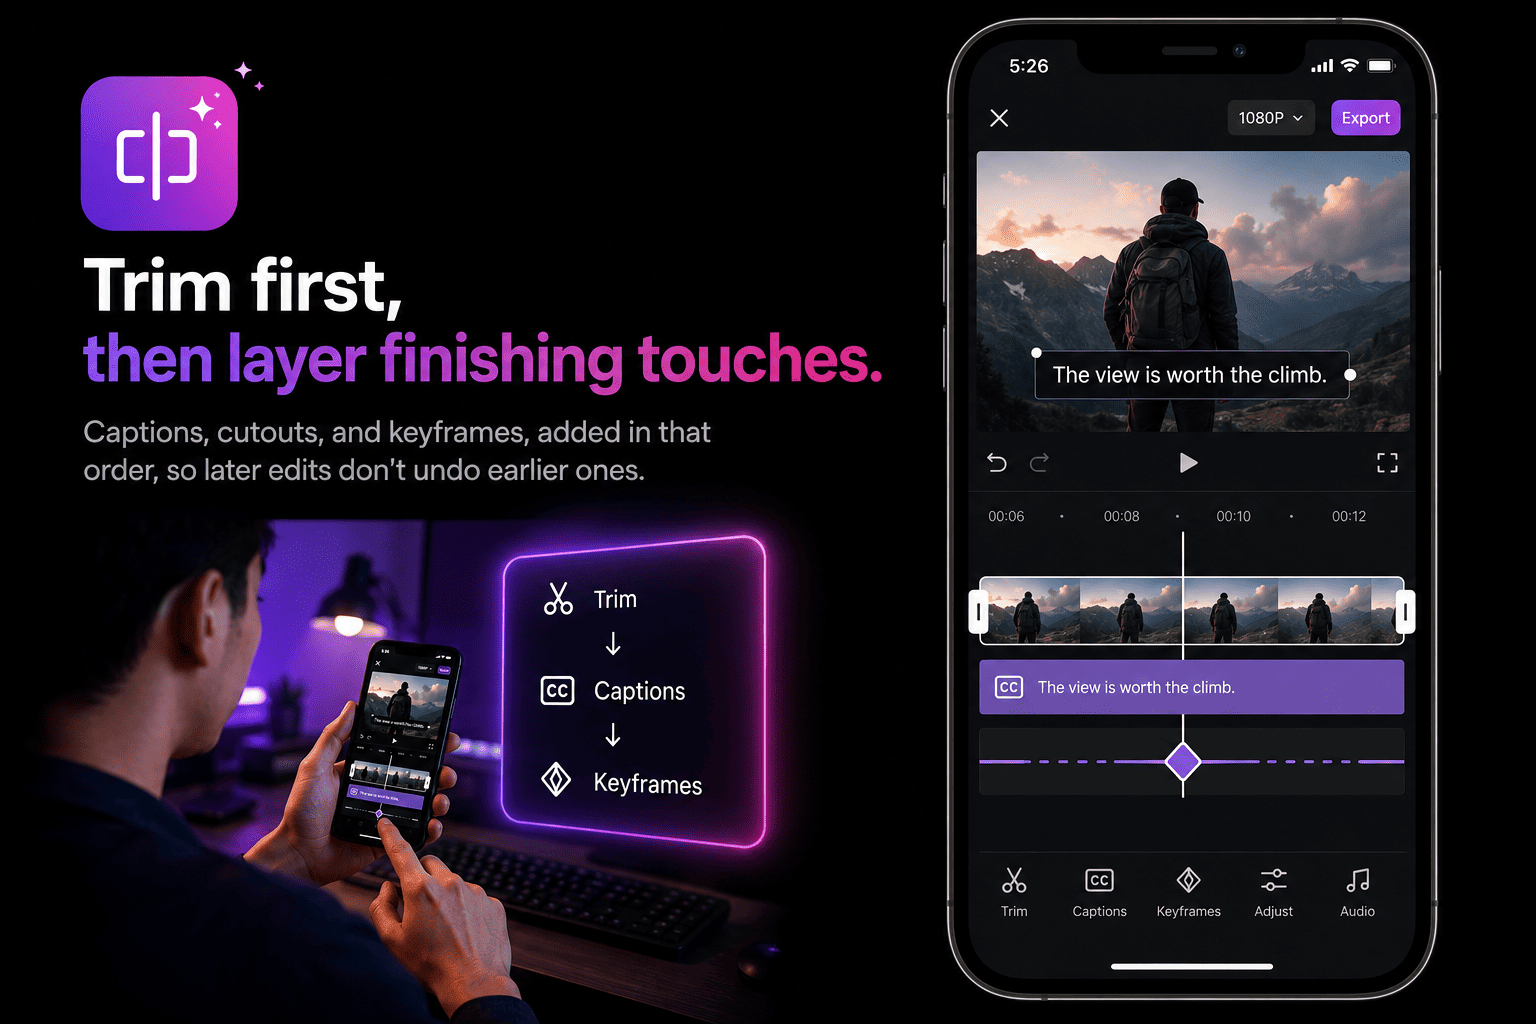
Trim to the frame, then layer finishing touches
Split and trim first. Then add auto-captions (and edit the transcript directly), subject cutouts, and any keyframed motion, in that order, so later edits don't undo earlier ones.
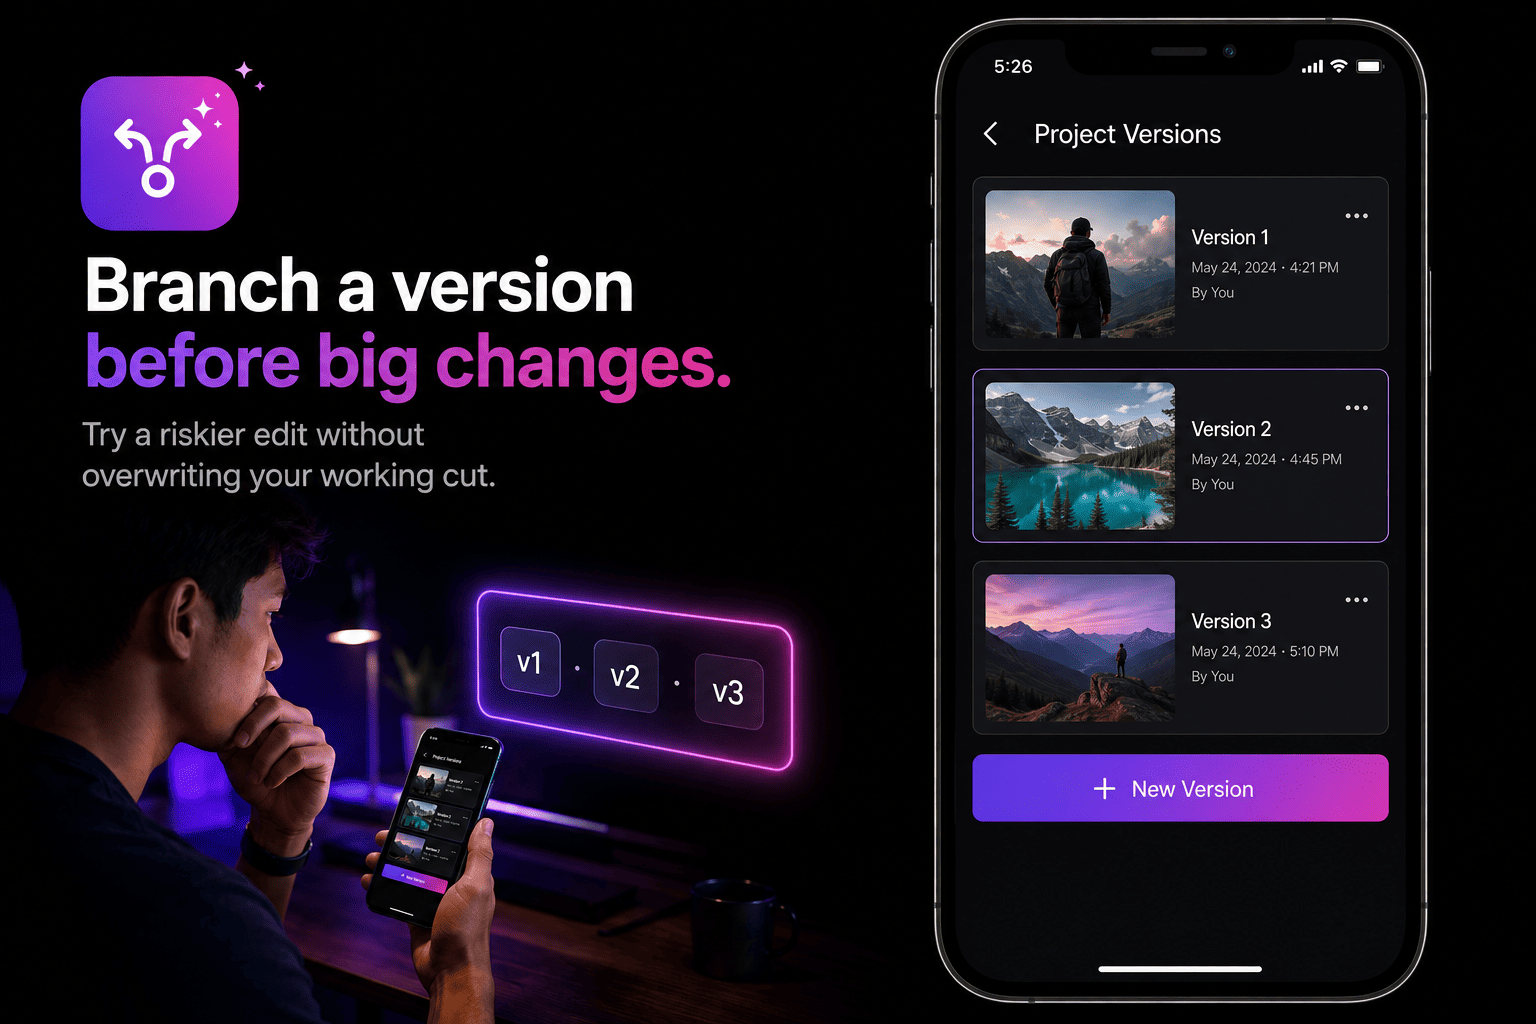
Branch a Project Version before big changes
If you're about to try a riskier edit, a different hook, maybe a different pacing, branch a Project Version first so you don't overwrite your working cut.
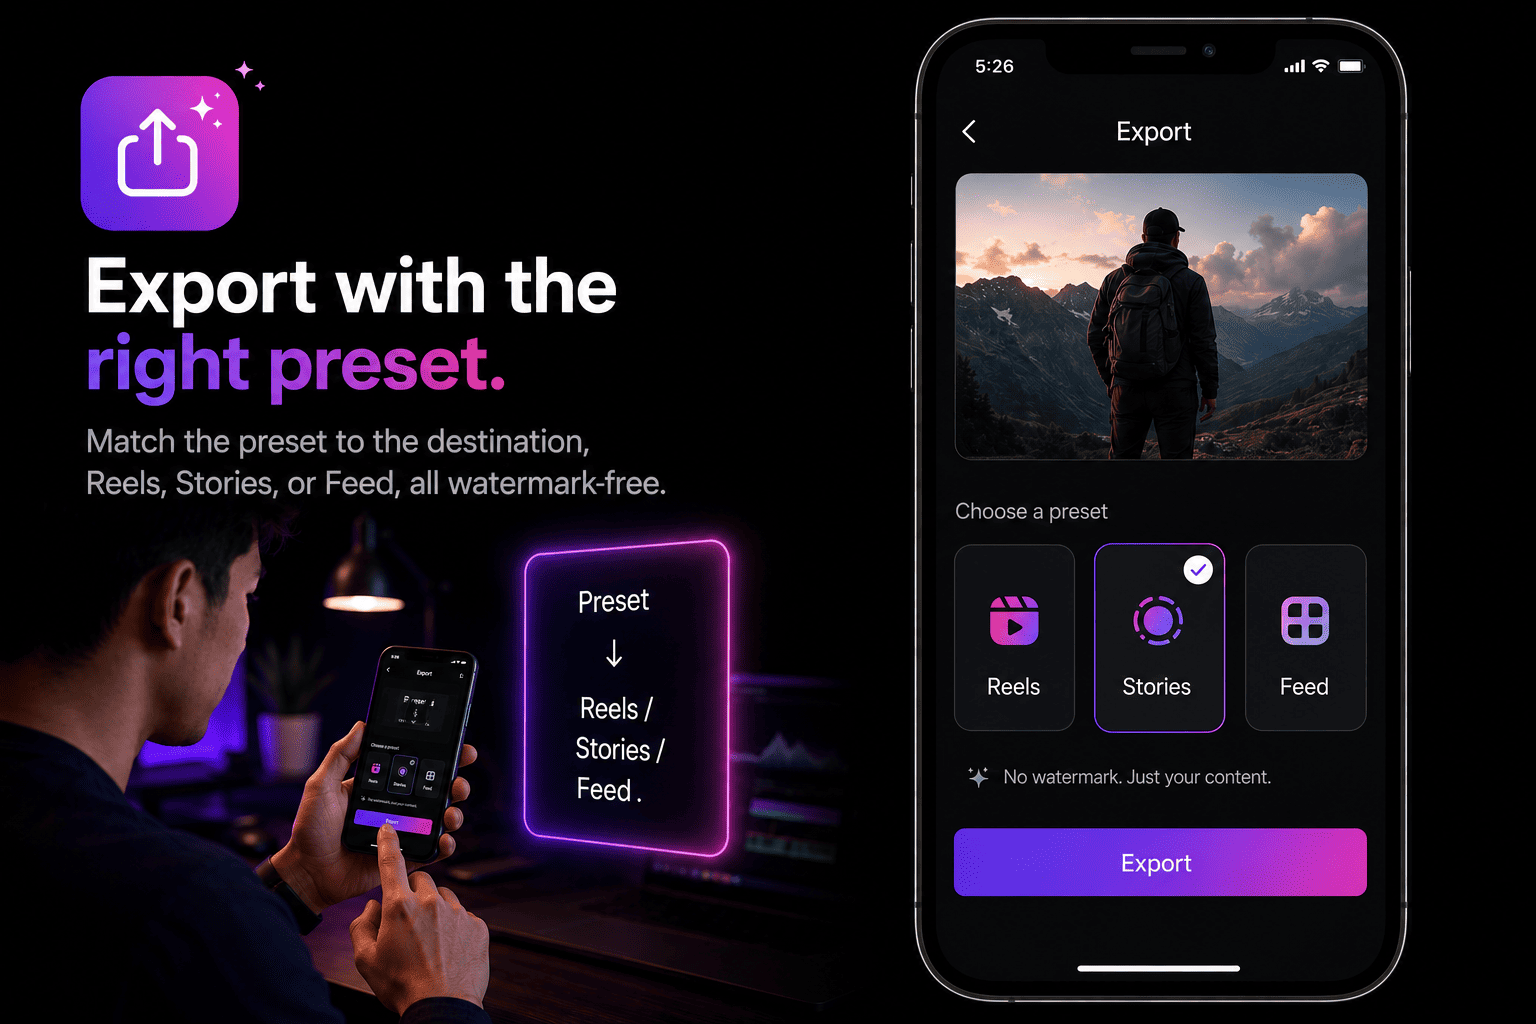
Export with the right preset
Match the preset to the destination, whether that's Reels, Stories, or Feed, rather than exporting custom by default. All presets are watermark-free.
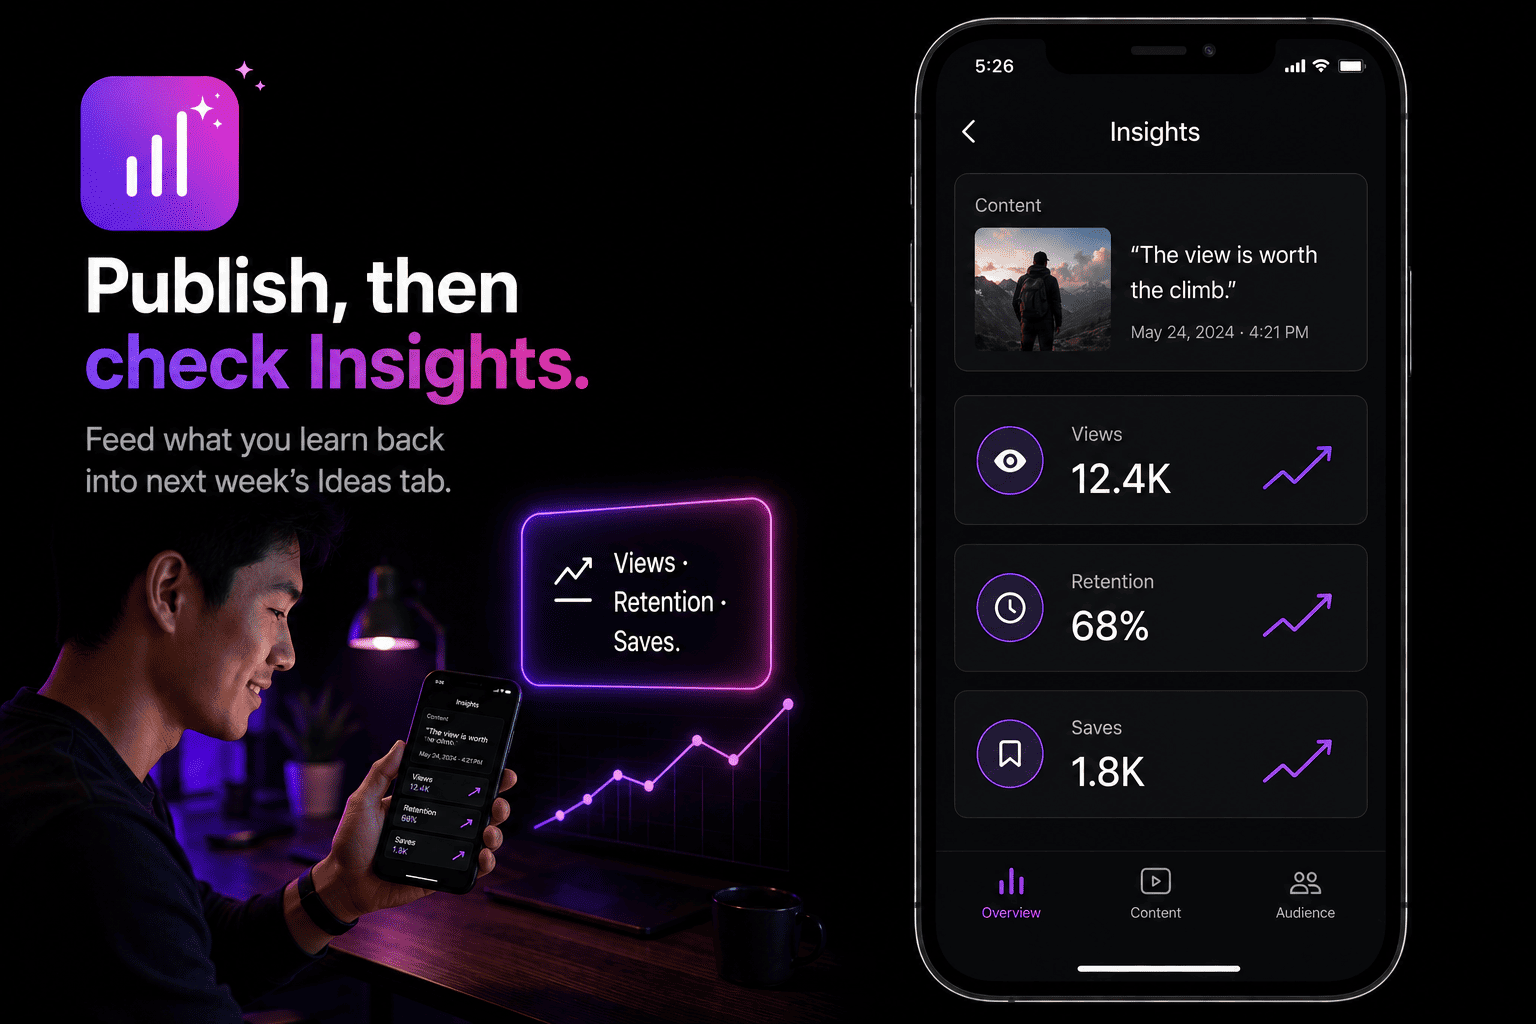
Publish, then check Insights
The Insights tab shows caption transcriptions and lets you compare Reels side by side. The goal isn't watching a number go up, it's feeding what you learn back into next week's Ideas tab.
Habits worth building
- Shoot slightly wider than you think you need. Cropping in during editing is easier than being stuck too tight.
- Use Loudness Match early, not as a last step, so clips don't fight each other in volume while you're still cutting.
- Keep captions editable. Auto-captions are a starting point. Always proofread the transcript before publishing.
- Branch before you experiment. Project Versions exist specifically so a bad idea doesn't cost you the working cut.
- Check Insights weekly, not per post. Patterns across several Reels are more useful than reacting to one video's numbers.